Bake Along #68 – French Macarons
March 3, 2020 2021-09-04 18:06Bake Along #68 – French Macarons
French macarons, need I say more!! The fear of many failures kept me away from it from years back. Finally with less number of attempts and just a couple of failures, this should be my second right attempt and with that math, its my 4th trial on the whole
I will probably be talking less this time, will ensure the recipe is very clear, with a vision to have nearly no failures at all. Because I have quite a lot of things to show you all rather, this time
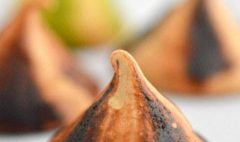
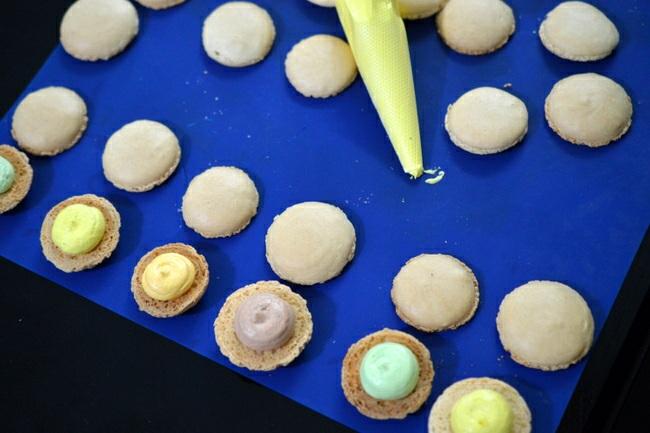
Just that, like any other monster bake, this gave me jitters and with such a nerve racking situation, I missed to add up on colours to the batter. I finished piping and it is all set to dry and form a skin.
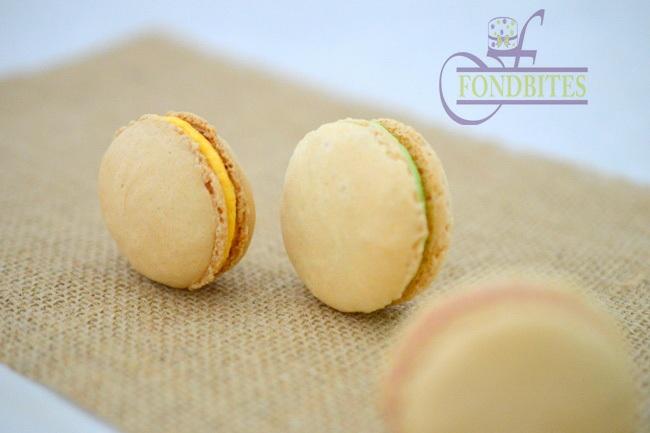
While I was really upset, if you know me well, here you might wait for something better. Something better than coloured macarons
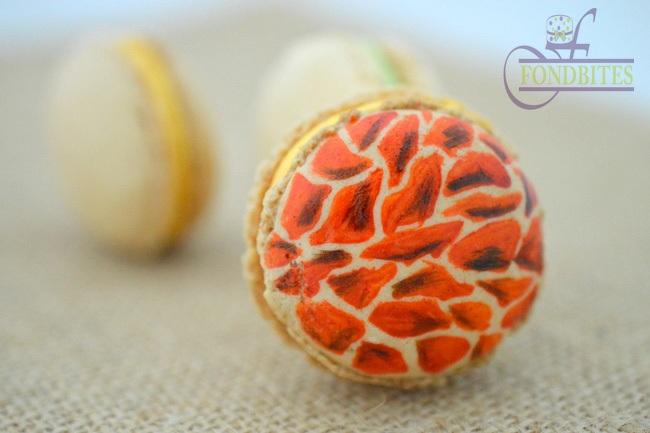
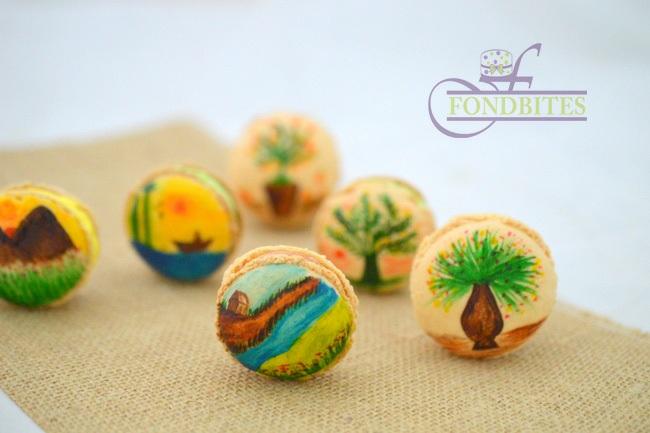
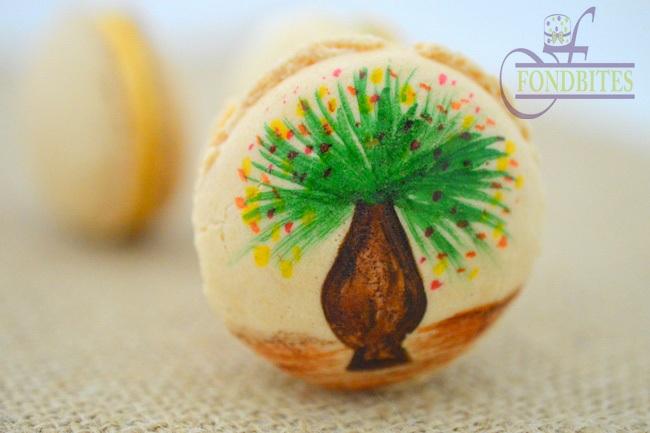
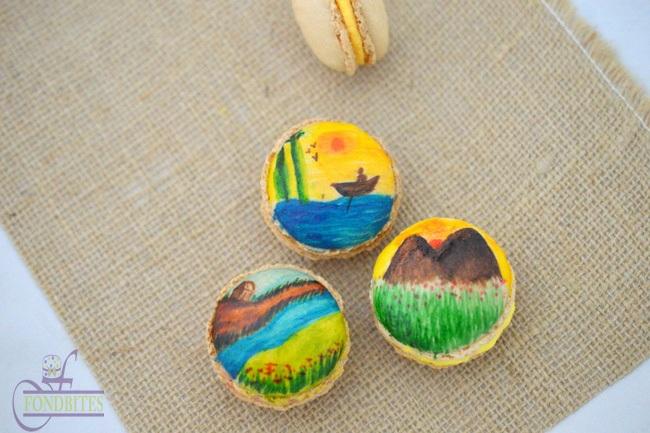
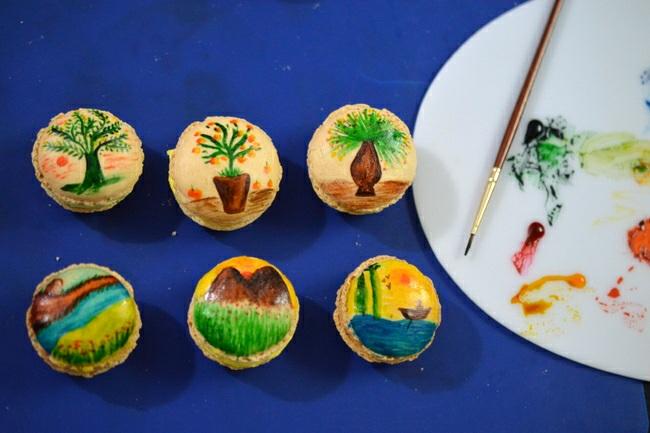
Just wanted to show some life and colour to these beautiful babies, and took out a palette, gel colours and my brush. Here you go, got this.
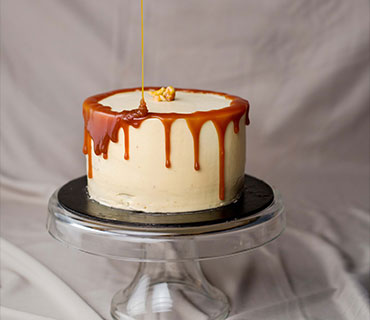
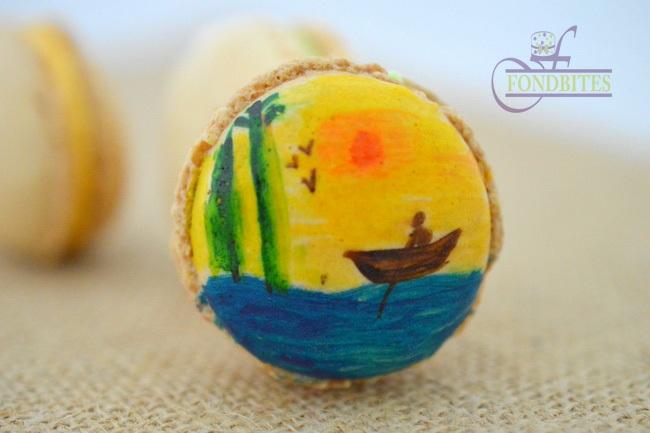
Can’t just stop with one, and I just tried the above. Not bad eh ?!
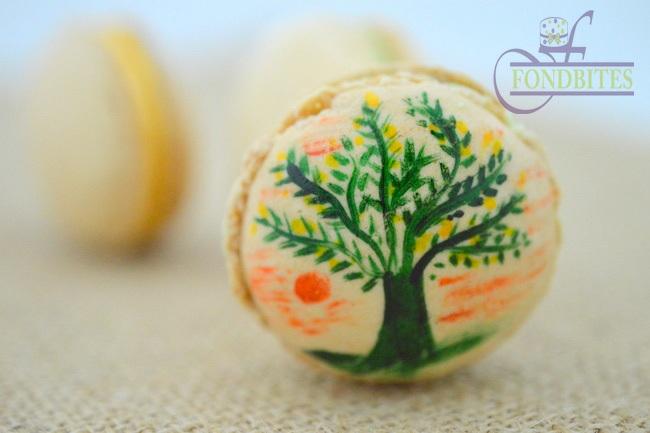
Sometime you would want to just stop there, but your heart would keep roaring !!
Won’t just listen up to ya
Ok!! Now I hear you.. No I wont take painting classes, after all this was just that kid in me, suddenly woke up to my call
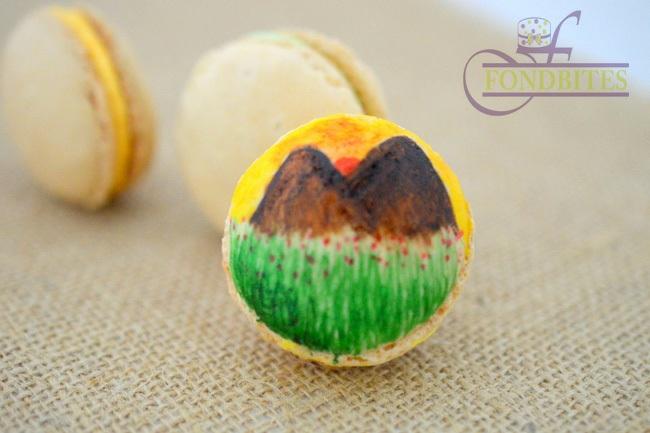
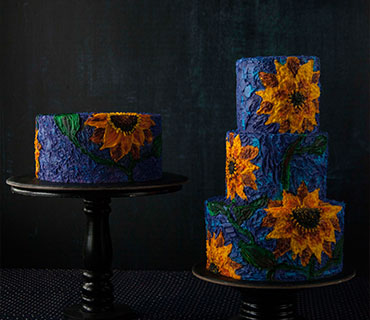
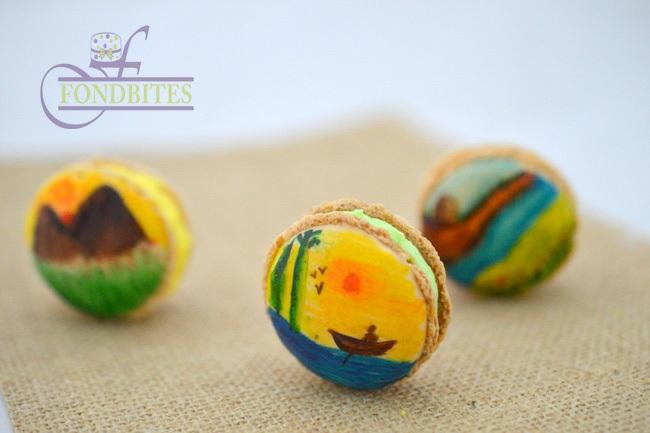
My daughter got stunned and asked me do 2 mountains and a sun rise. So here it is
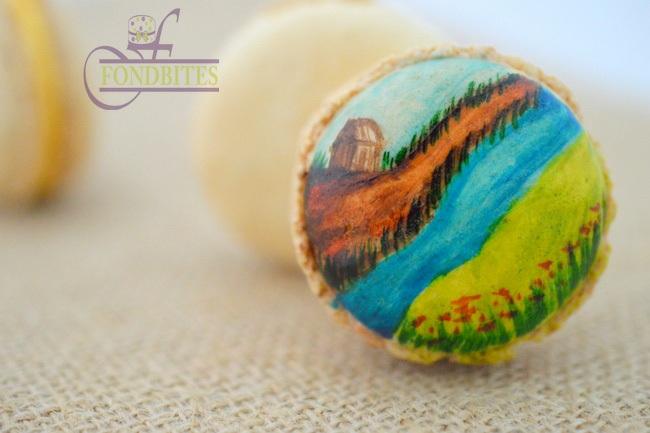
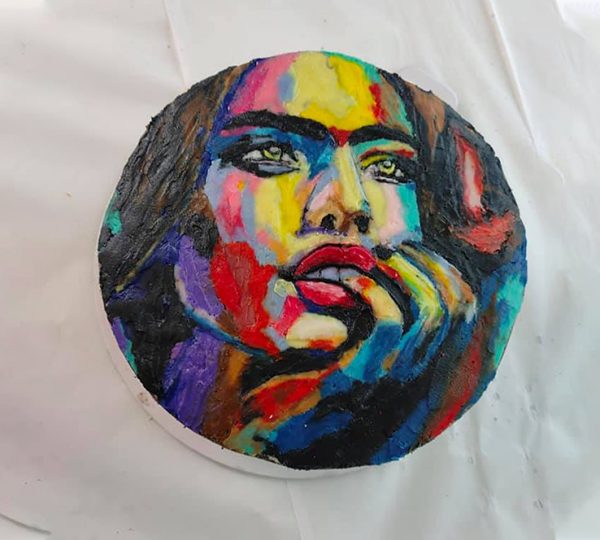
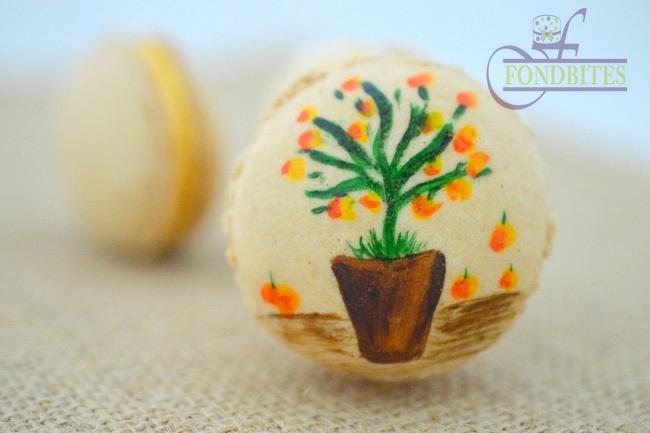
Enough is enough!! Are you not saying that ? . I just got done with this. That beast who woke up got peaceful and I put him to sleep
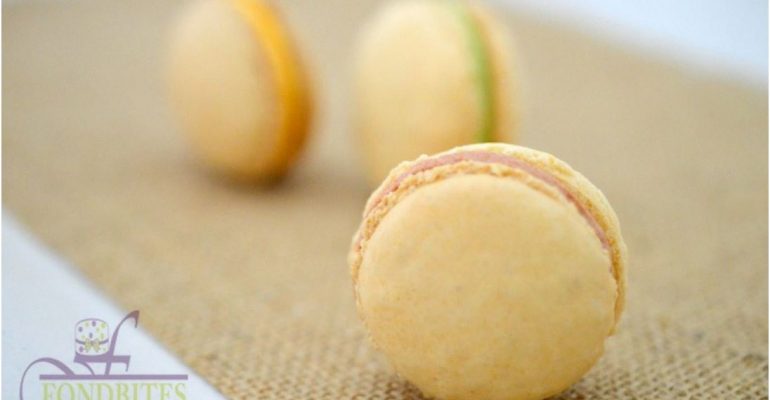
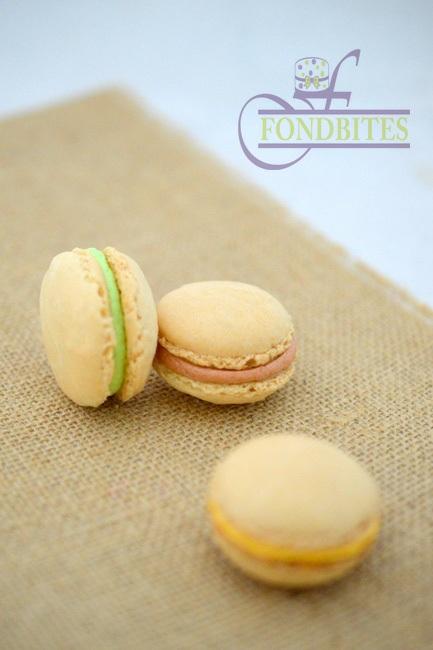
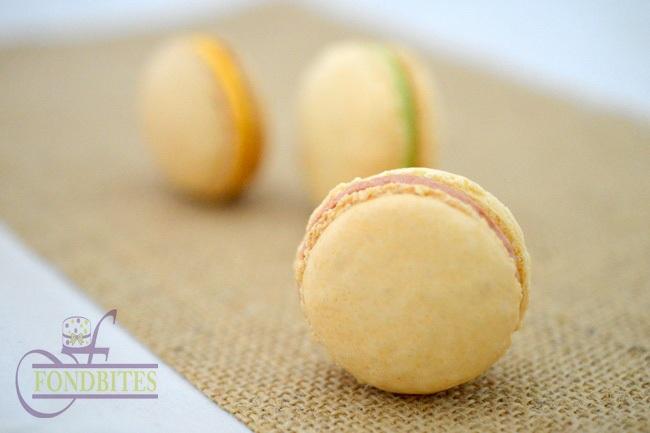
Time again to put them together and here are those shots
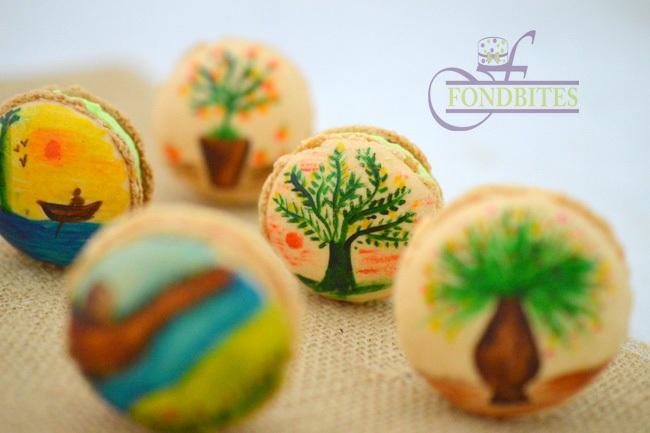
You definitely don’t have to paint your macarons. Or it’s really ok to give it a try
Now ready ? for the ride ?? the real ride
Ingredients:-
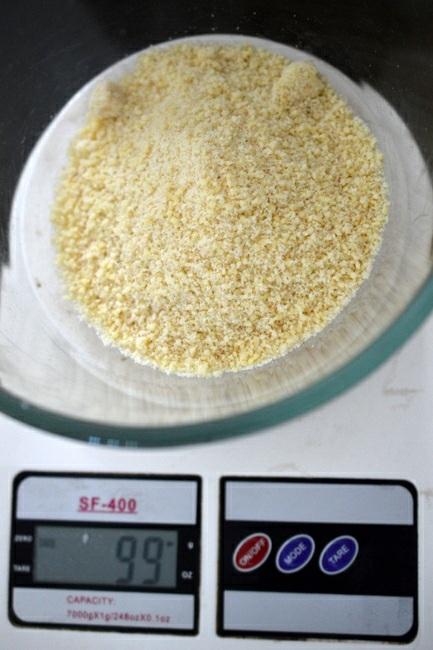
- Almond meal – 99 gms
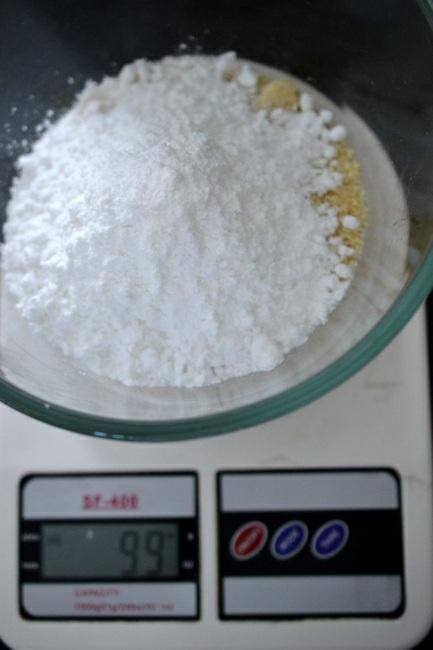
- Icing Sugar – 99 gms
- Castor Sugar – 66 gms
- Egg whites – 75 gms
Buttercream
- Butter – 100 gms
- Icing sugar – 1 cup
- Flavours – as per choice
Method:
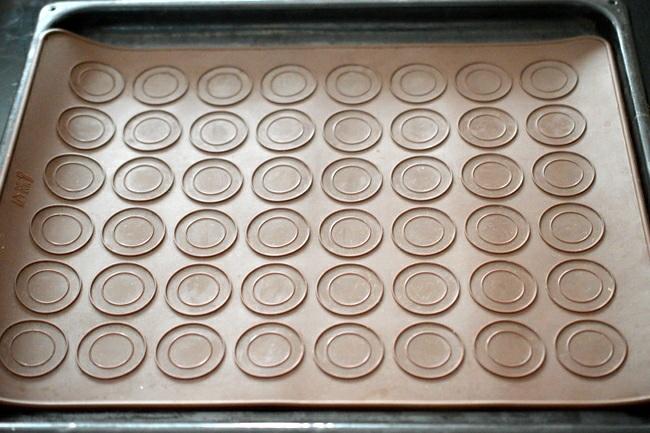
1. Line up your baking tray with silicon mat/ butter paper / macaron mat.
2. Measure your almond meal in a bowl. Try to get almond meal. If you are making it at home, blanch the almonds, peel the skin and dry completely. Process almonds in your food processor. Care should be taken not to over process your almonds, else it will become oily.
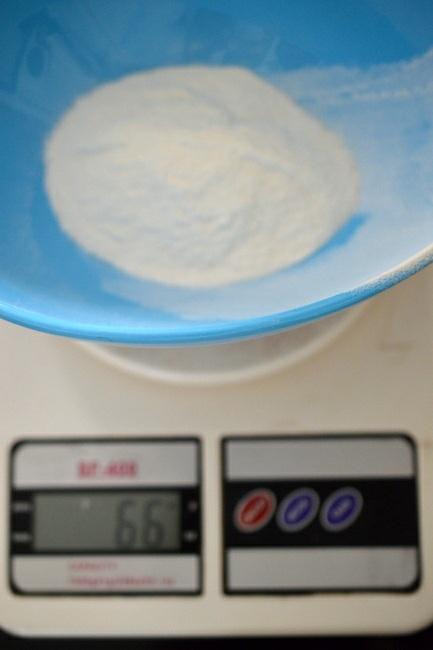
3. Measure icing sugar on top of the almond meal. Just insisting that the measures in grams using kitchen scale is essential for macarons. Using cups and spoons are not advisable.
4. Process almond meal and icing sugar together in your food processor for about few seconds at a time.
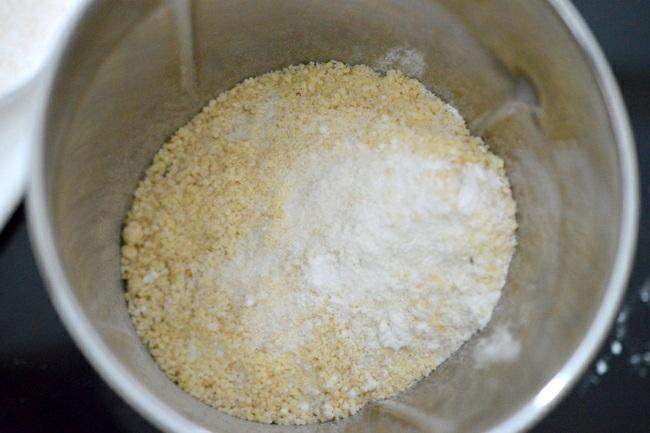
5. Do not over process or they might get sticky.
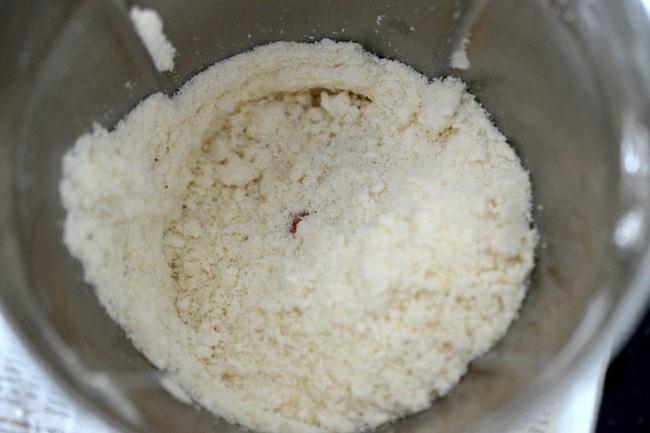
6. Sift the almond meal-icing sugar mixture. Sift it 2 to 3 times to have just the fine powder.
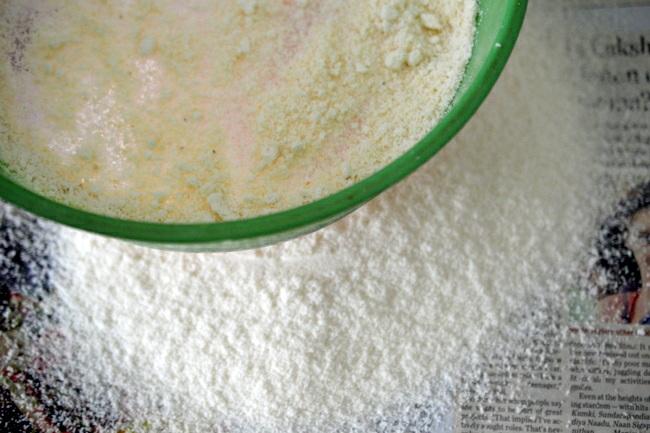
7. Discard that remaining bigger particles of almond meal, that wont sift through, or add it to your milk shake or any of your cake batter
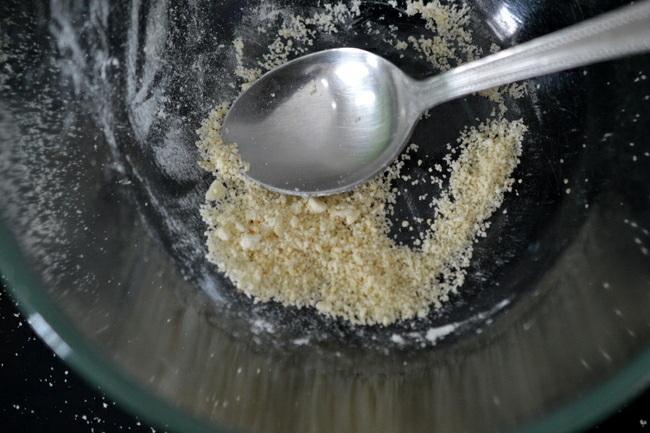
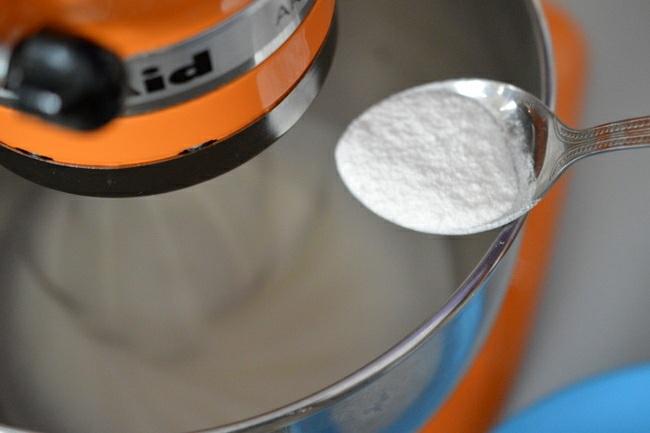
8. Measure your castor sugar.
9. Egg whites. Aging egg whites is one of the key steps to making macarons. Sometimes, when we fail, we might think, we should have aged our whites. Where as few recipes say, you dont have to age them. But when many say, aging helps success, we might as well do it. Separate the egg whites, make sure there is not even just a drop of the yellow. If you had the yolk gone in, just scramble with some salt and pepper and eat it away. Re-do whites again fresh for the macarons. To age whites, add them in a bowl, cover with a cling wrap and refrigerate for about 24 to 48 hours. Bring to room temperature before using it for macarons.

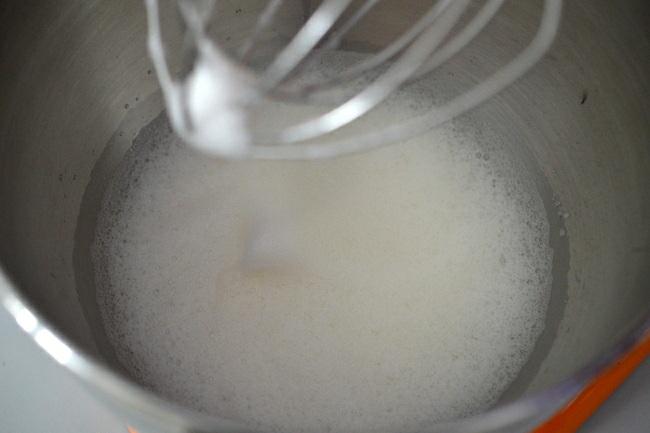
10. Whip your whites until just foamy, using a balloon whisk, if using your stand mixer, else your regular beater blade if using hand beater. Make sure your bowl is free of any oil/grease/fat. It is good to use a metal bowl and not plastic. Wash it with lemon and hot water and wipe off clean and let dry the bowl and beater few hours before using. Any fat that comes in contact is going to fail the meringue.
11. Add the castor sugar a little at a time while the egg whites are still being whipped up in medium speed.
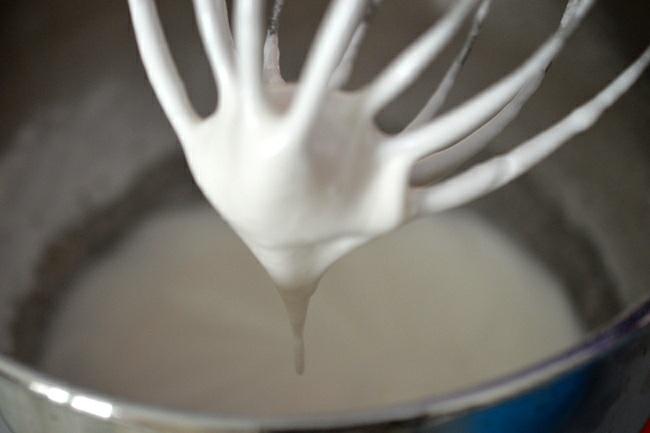
12. Beat on high speed until soft peaks form. If the meringue peaks are not there, just discard and start over again. Make sure you have followed all the steps carefully again.
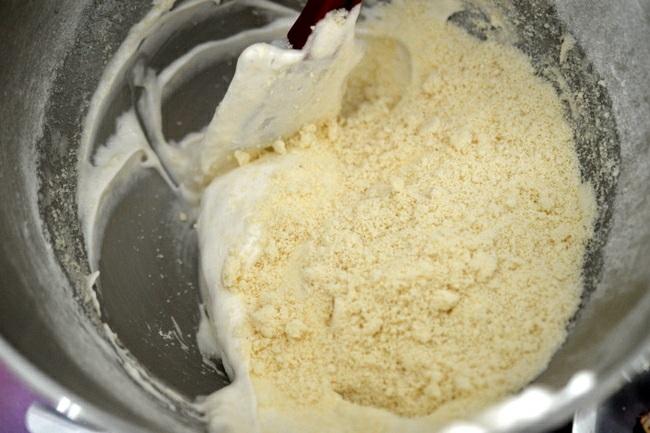
13. Add 1/3rd of the sifted almond meal-icing sugar mixture into the egg whites mixture. Just fold in using your spatula. Do not over mix. Add the remaining almond meal mixture in 2 more parts and just cut and fold gently until it combines together. Do not over beat. If it deflates here at this stage, yes you are ready to discard and start over. And does it sound like any snake and ladder ? . You are still not at 99
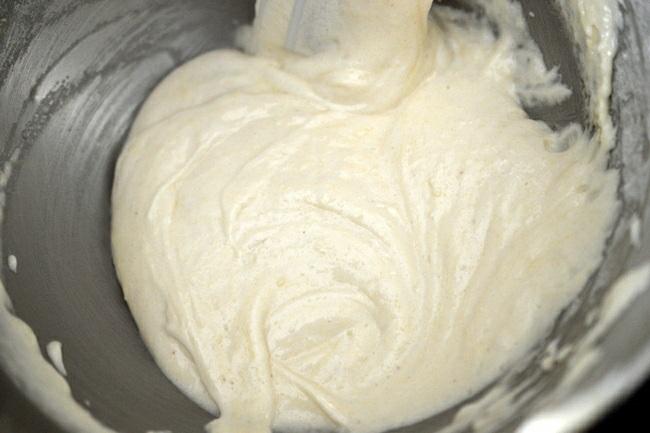
14. And that’s how the beautiful batter looks like. That is my weakness . I mean any batter for that matter. If adding colour to the batter, now is the time. Add drops of gel colours and mix by cutting and folding. Do not over mix or the batter will deflate.
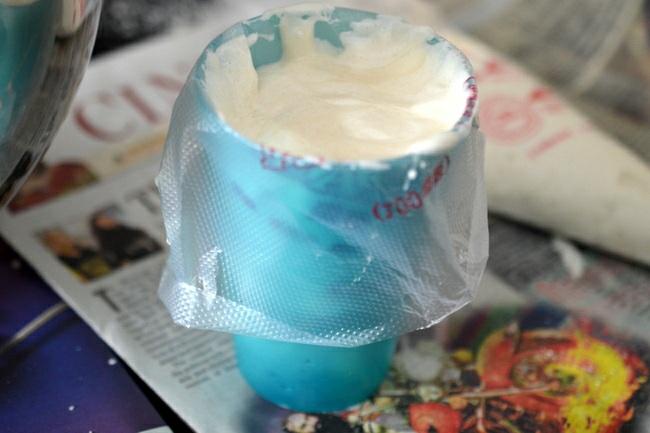
15. Fill up the batter in your piping bags. I split the batter into 2 piping bags, as my bags were small and I thought that will give me better control over piping.
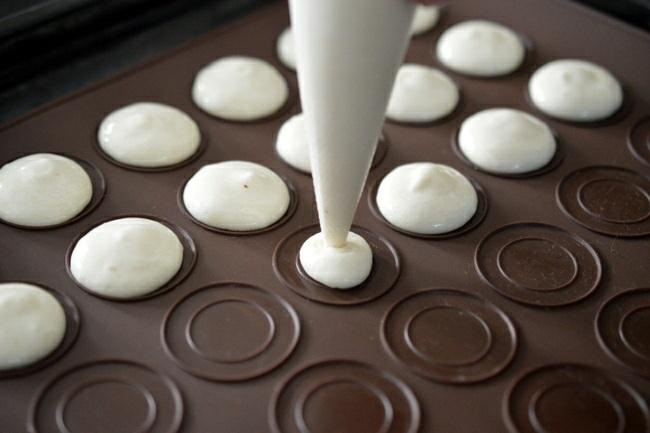
16. If you do not have a macaron mat like this, you can use a normal silicon mat. But you should be able to eye ball the size of each macaron carefully and also the spacing, else they could join together. Another best bet is to use two butter papers. To one you draw outline of circles spaced 1 inch apart and keep them below another butter paper and use that traced outline as a guide and pipe within those circles. Click here to one such template. Pipe your macarons making sure you dont over fill each of them.
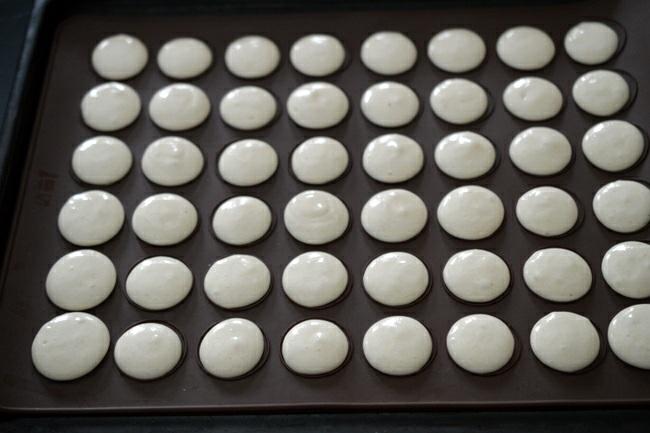
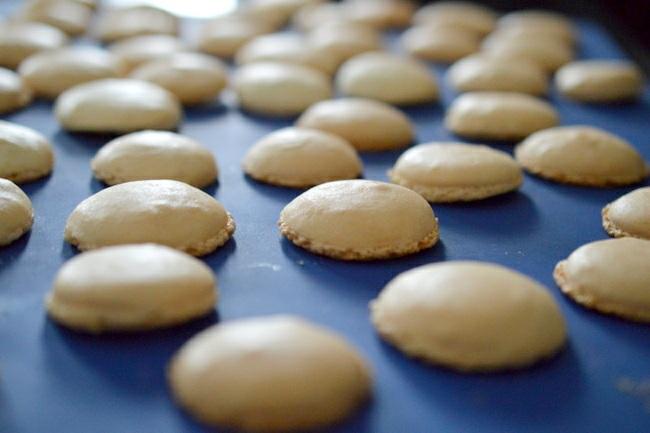
17. Once you finish piping, tap the baking tray few times to release any air bubbles. Now here you come to that 99th place on your game . Set aside this baking tray for about an hour. This drying time will form a skin on top of the piped shells. This dry skin will help form the feet, which are a key to french macarons. Or there are chances that the top of your shells will crack up. To speed up the drying time, place them under a fan. Pre-heat oven to 150 degree C. Bake in pre-heated oven for about 12 to 15 minutes until the feet of macrons are formed nicely and the top of macaron is firm to the touch.
18. Cool on wire rack. Slowly remove the shells one by one from the sil mat/ butter paper. They are now ready to be filled and sandwiched.
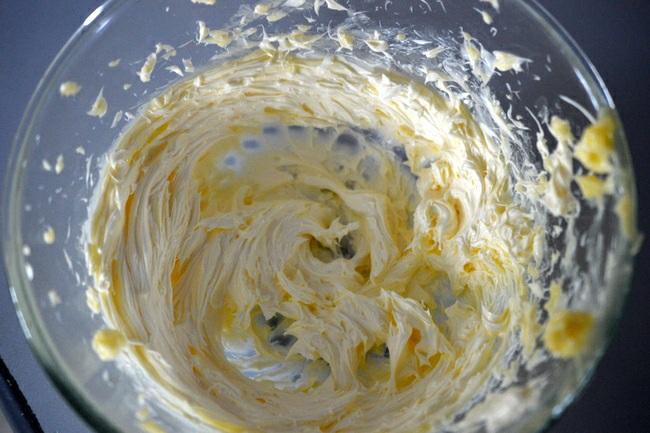
19. Buttercream – I decided to make simple buttercream and add flavours with the natural extracts that I have. You can make any filling of choice. Meringue buttercreams, chocolate ganache, cream cheese/mascarpone cheese frosting, white chocolate buttercream and the options are endless. Beat the butter until light and fluffy.
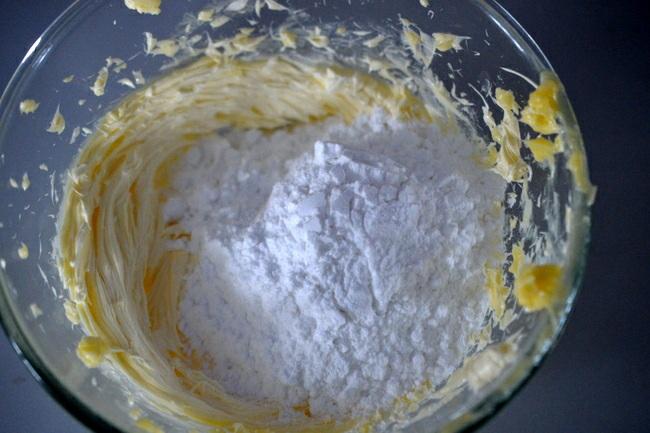
20. Add icing sugar and beat again on medium high speed for about 5 minutes.
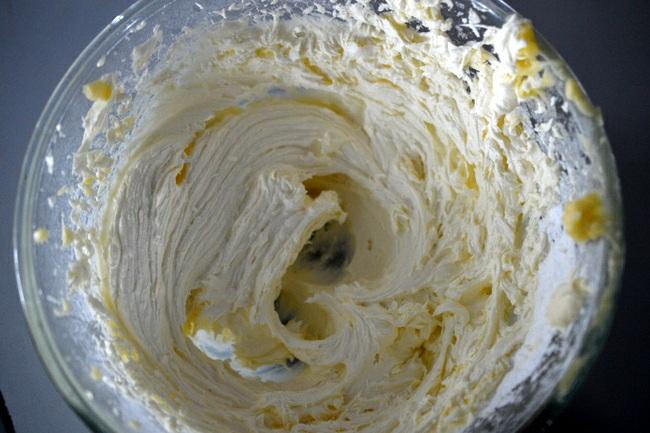
21. Pale yellow, fluffy and creamy buttercream is ready to go.
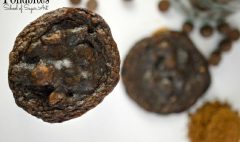
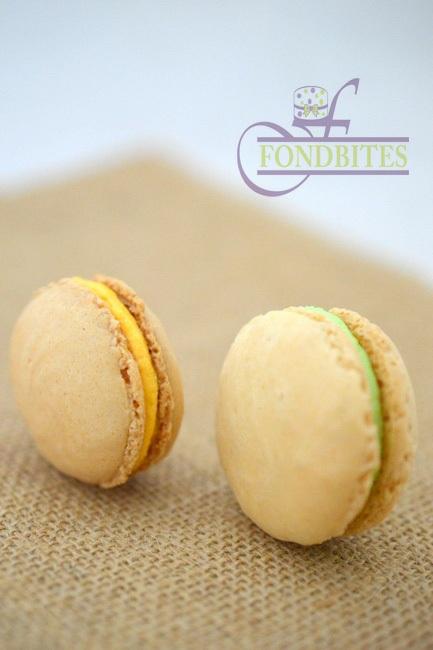
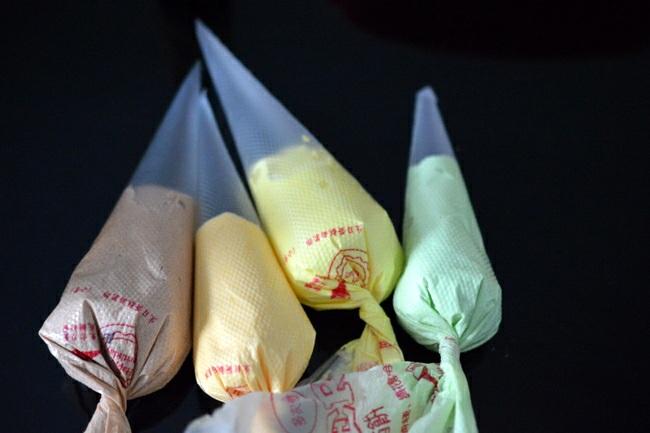
22. Decided to have 4 flavours. Coffee, Mango, Peppermint and Lemon. I love natural extracts
23. Some colours are added and filled in piping bags, ready to pipe and sandwich.
24. Pipe a big blob in the center of the feet side of one of the shell and gently cover the filling with the pairing shell and close it up lightly. Do not press hard, go gentle.
25. And that is when that creative animal woke up and just calmed down
Refrigerate the macarons for a day and they mature with flavour overnight. I know it is difficult, so why dont you now gobble up one and so you can really test if the flavour matures or not, again the next day. Or what if you dont have
anything left to really finish your testing
Now on a serious note. Places where you might fail.
1. Aging egg whites – Just age them, we will just rule out one chance. 2. Almond meal – Process almond meal and icing sugar and sieve them to a fine powder. If you over process and it has leaked out oil, you might have to start over.
3. Meringue – Any fat content in your whites, is going to fail your meringue. Do not give up. You just have to get it right.
5. Folding the batter – While adding the almond meal mixture to the meringue, you have to cut and fold. Over mixing is going to deflate the batter. Under mixing might also have bigger lumps. But it is better to under fold than over fold. But folding it just right, you got to get it right.
6. Adding colour – Add gel colours, if you want bright colours, add as much needed in the first attempt. That will save you from folding it several times. Do not ever do a random mixing. Always cut and fold.
7. Drying to form shell. Once piped, they have to be let to dry for an hour or more until the top forms a crust
. 8. Baking – Bake at the right temperature. Start pre-heating while the shells have almost dried for crusting. Last one – Do not give up. You will get it right