Bake Along #23 – Lamingtons!
February 13, 2020 2021-09-04 18:19Bake Along #23 – Lamingtons!
Bake Along #23 – Lamingtons!
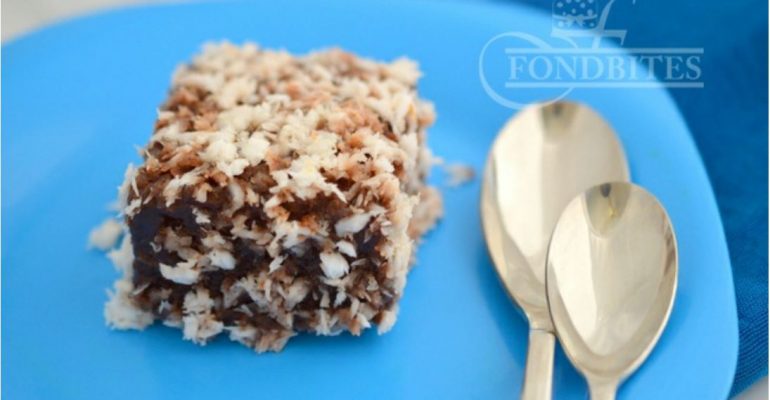
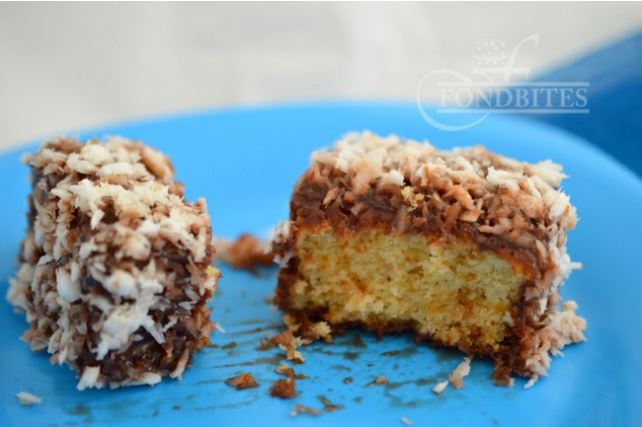
Lamington is a dessert that originated in Australia. They are squares of sponge cakes coated on all sides with a traditional chocolate sauce and then coated with dessicated coconut. The chocolate layer is absorbed on the outer layer of the sponge on each side and it is let to set. They are also served with two squares of lamingtons sandwiched with cream. Raspberry and lemon varieties of lamingtons are also common.
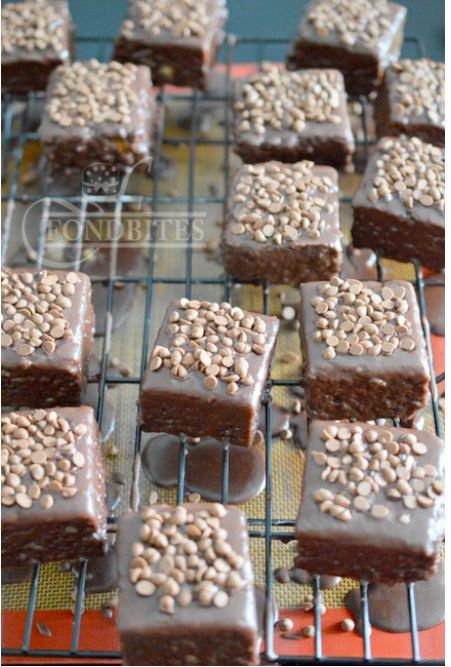
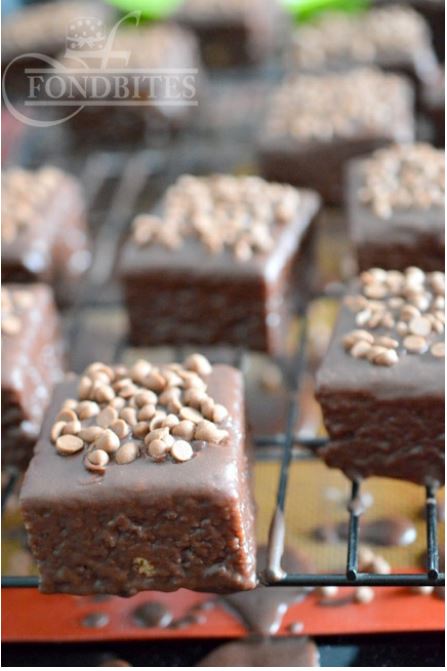
To admit the truth, I made a batch of these yumm and not wanting to coat the whole lot with coconut, I topped them with choco chips, I definitely do not want to call them lamingtons, so dont you too. But those who would not prefer a coconut coat on the outside could give your own outer covering, but probably make your own names. Almond meal, crushed digestive biscuits, multi grain muesli and so on.
The process was so therapeutic, as I loved seeing how the chocolate coating set really well and made a whole bunch of awesome bite sized dessert. They also were too good to munch on direct from the fridge, the chocolate sauce which was set on the outside but had the sponge nice and fresh in the inside.
I have been juggling between lot of new stuffs thats coming on the Fondbites way and owling every night has become a routine almost everyday. I’m here, going to cut shorten all that I wished to talk about lamingtons, but this is something you will enjoy doing and wont even want to give it away. You would rather feel, let me freeze it and eat it through out the whole month. You would not want to give away this baby, I bet !
Ingredients:
Recipe source: Joyofbaking
- All-purpose flour – 1 1/2 cups
- Baking Powder – 1 1/2 teaspoons
- Salt – 1/4 teaspoon
- Unsalted Butter – 1/2 cup, at room temperature
- 3/10Granulated white Sugar – 1 Cup
- Eggs – 2, at room temperature
- Pure vanilla extract – 1 teaspoon
- Milk – 1/2 cup, at room temperature
Coating:
- Vanilla Pastry Custard – 1/2 cup, use this recipe or make from ready packets
- Fresh whipping cream – 1/2 cup
Chocolate Frosting:
- Icing sugar – 4 cups, sifted
- Cocoa powder – 1/3 cup
- Unsalted butter – 3 tablespoons, cut into pieces
- Milk – 1/2 cup
Method:
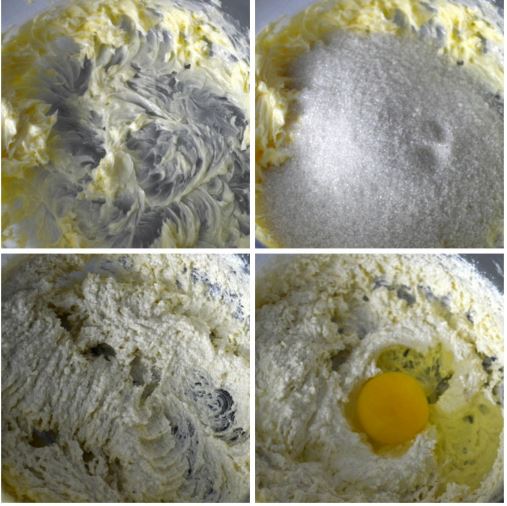
1. Pre-heat oven to 170 degree C. Line up 9 inch square cake tin with butter paper and butter the same. To the bowl of your electric beater, add butter and beat till smooth and no lumps. Add sugar and beat on medium high speed for about 5 minutes until the mixture has turned creamy, pale and fluffy. This process is important as this is where you incorporate air into your batter, which will give your cakes the texture. After which add the eggs one by one and beat for 1 minute after each addition.
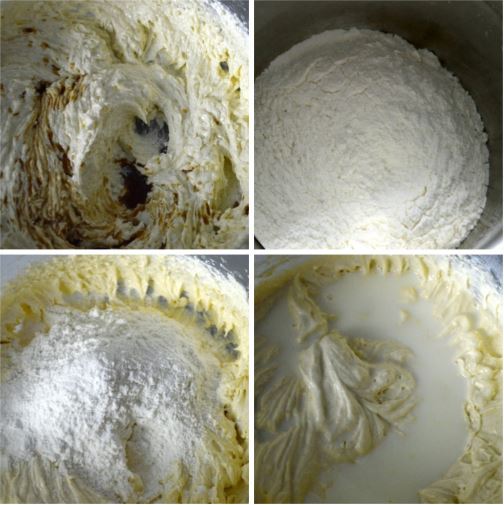
2. Add pure vanilla extract and beat until incorporated. Sift together flour, baking powder and salt. Add the flour mixture into the batter in three portions and the milk mixture in two portions, alternating both of them, and beating after each of the additions of flour and milk, but just until incorporated. Here you should not over beat, you have to beat just until flour and milk are incorporated into the batter after each addition. Flour and milk are divided into portions and added, just to ensure avoiding over beating of the batter. Because over beating your batter will end up in tougher cakes.
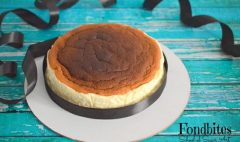
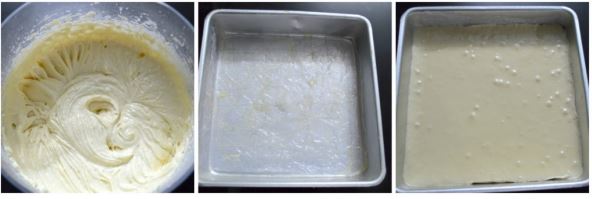
3. Spoon the batter into the prepared pan and tap it once or twice on your counter to get rid of any air bubbles and bake in pre-heated oven for 30 to 40 minutes until the top is golden brown, well risen and a tooth pick inserted into the center comes out clean. Cool on wire rack and cling wrap the cake and refrigerate it until you make your chocolate frosting. It is good to refrigerate, because slicing a cold cake is much easier than a fresh cake. A fresh cake when cut will end up having a lot of crumbs where as a cold cake will have precise cuts.
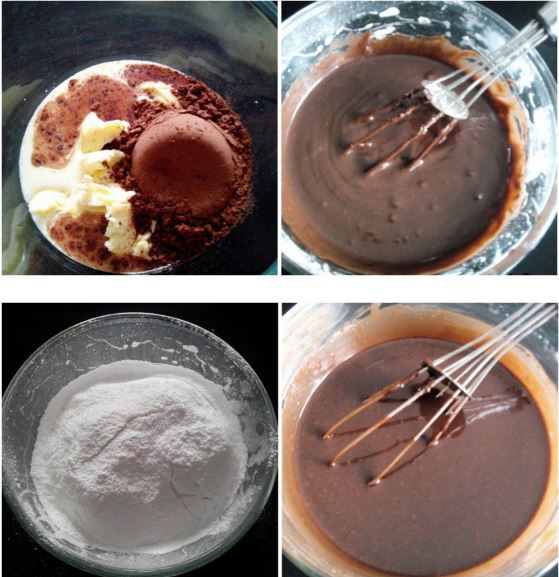
4. In a microwave safe bowl add the ingredients called for chocolate frosting except the icing sugar. Microwave in 30
seconds interval until the butter fully melts and everything combines together. Now Add icing sugar and mix well using a wire whisk. Once it has been fully incorporated, microwave again until the mixture is hot and runny and icing sugar seems to be almost dissolved. It took about 2 minutes in total, but I did only in 30 seconds interval.
5. Remove cake from refrigerator and cut them into 16 equal squares.

6. Have your cooling rack on top of butter paper or a mat, that will help catch the chocolate frosting. Now dip each cake square into the chocolate frosting. Make sure all the 6 sides are thoroughly coated with the chocolate sauce, let them rest on the cooling rack for a while. Complete it quickly for all 16 pieces. This is quite a messy job, but worth it all at the end, trust me!
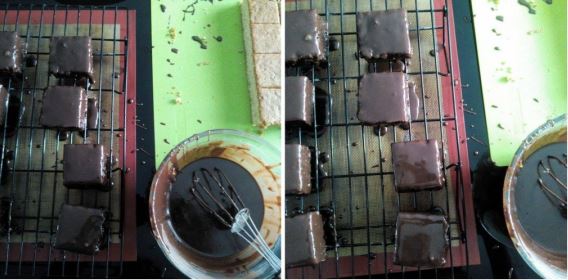
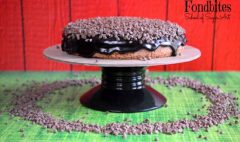
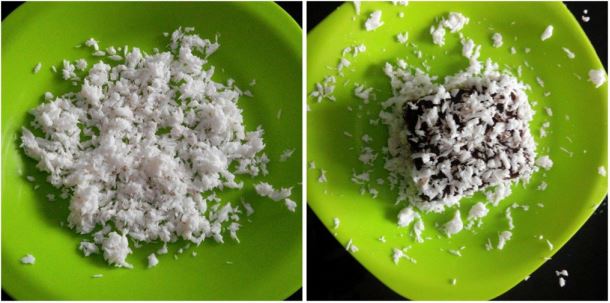
7. Spread dessicated coconut on a plate, and use your palette knife to lift the chocolate coated squares and dust them all over with the coconut. Make sure again all sides are coated. Let them set on butter paper at room temperature. This might take an hour. You are ready to take a bite while its still not set, or patiently see them change dry on the outside and then you are all set to really test, how are these 3 combinations really going to work on your taste buds!!. I bet they are going to be a minute full of heaven!
They are good for about 4 to 5 days refrigerated, frozen even longer. You can choose to warm them before serving, make sure you warm them in 10 seconds interval and the chocolate sauce wont melt. Else they make great dessert chilled!
Also, do not let them sit on the cooling rack for long, as the chocolate frosting might set and stick to the rack and you might find it difficult to lift the squares. As I already said, you can change the coating to your taste, but to call them lamingtons you got to stick to dry coconut
This has been baked for Fondbites, Bake Along, a group of enthusiastic bakers, bake one recipe every week along with me. To join the group, send a join request in the facebook group and I will send you a confirmation message, after you confirm that you will bake every recipe with me each week, I will add you to the group
Recipes of previous Bake Along can be viewed here
Members – Once after you finish baking, post the link of your finished picture below using the linky tool.