Bake Along #18 – Caramel Cake
January 24, 2020 2021-08-09 16:34Bake Along #18 – Caramel Cake
Bake Along #18 – Caramel Cake
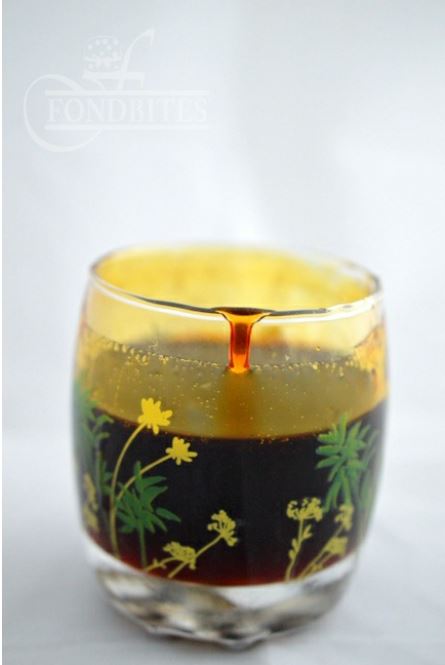
More than a year back, when I had to bake a butterscotch or a caramel cake, it had brown sugar and though I had no better choice I assumed that’s the cake. It seemed the best to me, until one day as I wanted to use caramel syrup into the batter and only then I can call it a caramel cake. One bite when you finish a whole wedge you will know what difference it does make.
Making of caramel syrup is one stress buster to me. I make it dark, really dark. I worried the first time I made thinking the cake would be bitter. But trust me, the darker the syrup the deeper the flavor of your cake. So just be patient and wait for it darken and that makes a whole lot of difference.
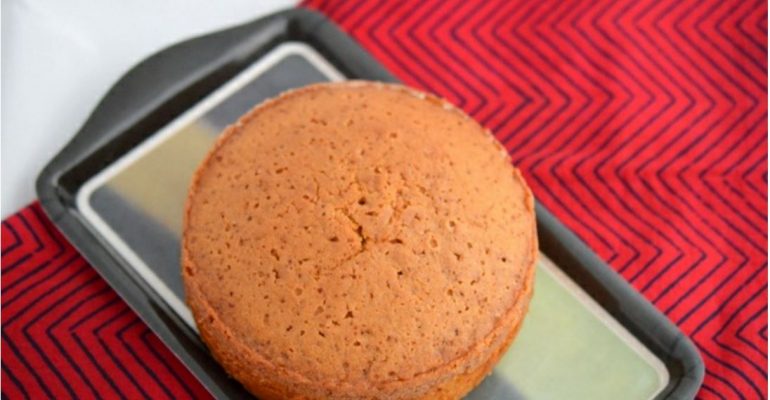
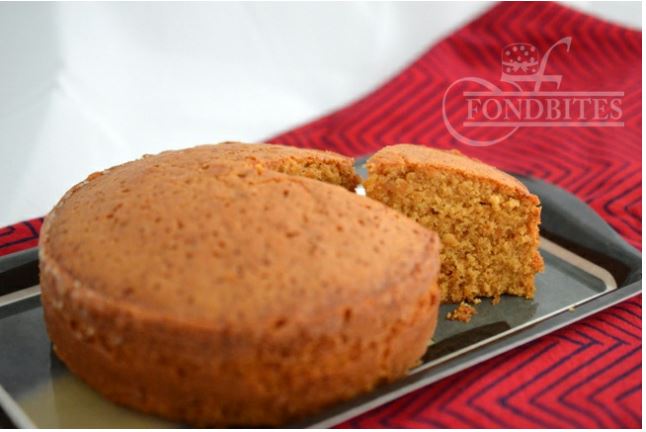
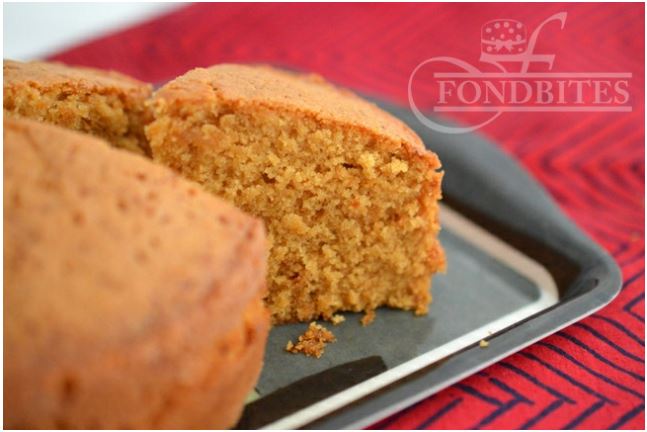
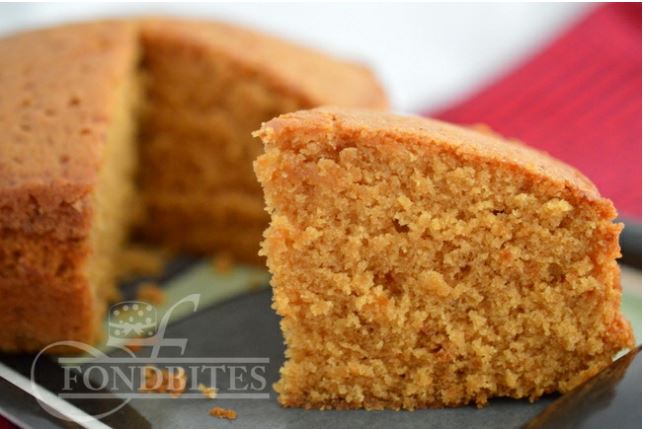
While I was searching for the best caramel cake recipe, I narrowed down to 3 or 4 and my instinct asked me end up with a recipe from Baking Obsession. And my instinct was perfect. This is so deep in flavor, rich and truly caramel. Light and spongy. The original recipe has cardamom powder in the recipe and I can’t imagine how delicious it would be with caramel and some decadent caramel frosting. Am not going to frost it now, but you could choose to frost. I like it plain for a after meal dessert or a tea time snack.
Ingredients:
- Unsalted butter – 150 gms, at room temperature
- Granulated white sugar – 1 1/4 cups
- Salt – 1 teaspoon
- Caramel syrup – 1/3 cup
- Eggs – 2, at room temperature
- Pure vanilla extract – 1 teaspoon
- All-purpose flour – 2 cups
- Ground cardamom – 1 teaspoon
- Baking powder – 1/2 teaspoon
- Milk – 1 cup, at room temperature
For caramel syrup:
- Granulated white sugar – 2 cups
- Water – 1/2 cup
- Water, to stop crystallization – 1 cup
Method:
Caramel Syrup:
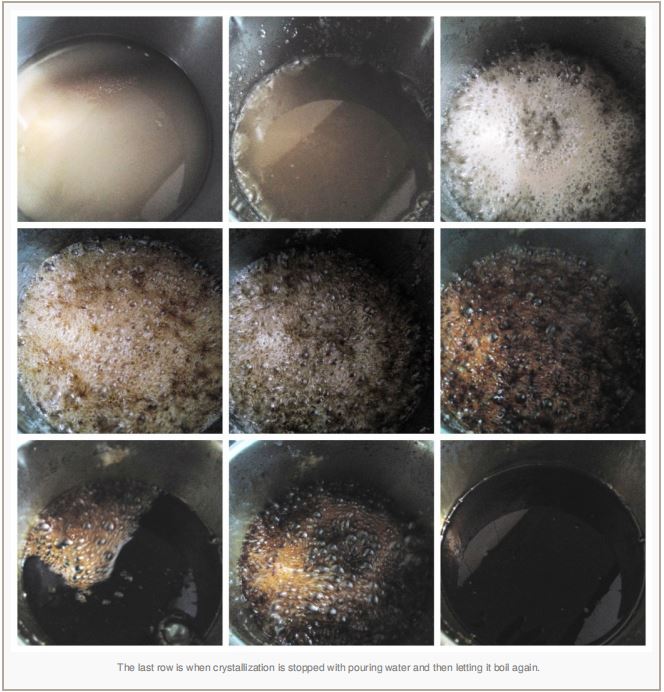
Add sugar and 1/2 cup water in a heavy bottomed sauce pan and put it on high flame until the sugar dissolves. Keep stirring with a wooden spatula. It will start boiling and bubbling and colour starting to change. Stir once in a while but not constantly. Let the colour change. In the picture below, the picture in the second row third column is my final colour I thought is enough. You got to wait for that stage. Now switch off stove and remove the sauce pan to the kitchen counter. Take all precaution, step back and stretch your hands to just pour a bit of the water and keep away while it splatters. Now again pour some more of the water and let it splatter some more. Now you can pour all of the remaining 1 cup. Mix well and bring it back on to fire on high flame and keep on high flame for 2 to 3 minutes until it reduces a bit and thickens. Do not leave it for long, then it would really thicken making it difficult to pour once it cools down. You got to have a fairly thin syrup while switching off the stove, which when cooled down is honey consistency.
Bakers having young kids at home, is suggested to do this process when kids are sleeping or not at home. Make sure you have cold water handy, and if you have hurt yourself with the splatters, immediately treat it with running cold water. But I havent got hurt even once yet :P, touch wood!
Cake:
1. Pre-heat oven to 160 degree C. Butter and flour an eight inch round pan. Sift together flour, salt, cardamom powder and baking powder. Keep aside.
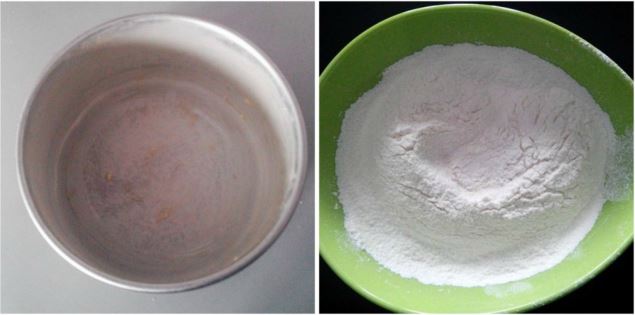
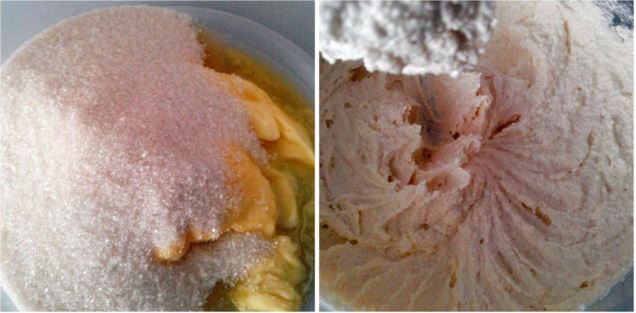
2. Add butter into your bowl and whip it with beater until fluffy and then add sugar and whip on medium high speed for 5 minutes until the mixture has become really creamy and paler. This process needs all that time, because here is when air is incorporated into the batter which gives the cake its real texture.
3. Add the eggs one by one and beat well for a minute after each addition. Now add vanilla extract and beat again until incorporated well.
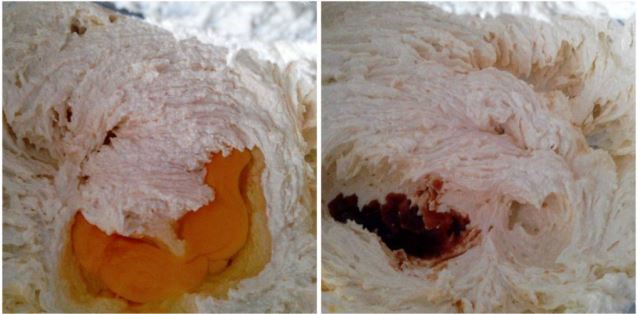
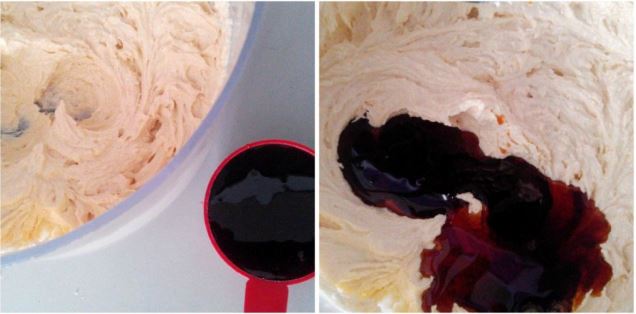
4. Now add caramel syrup and beat well again until incorporated.
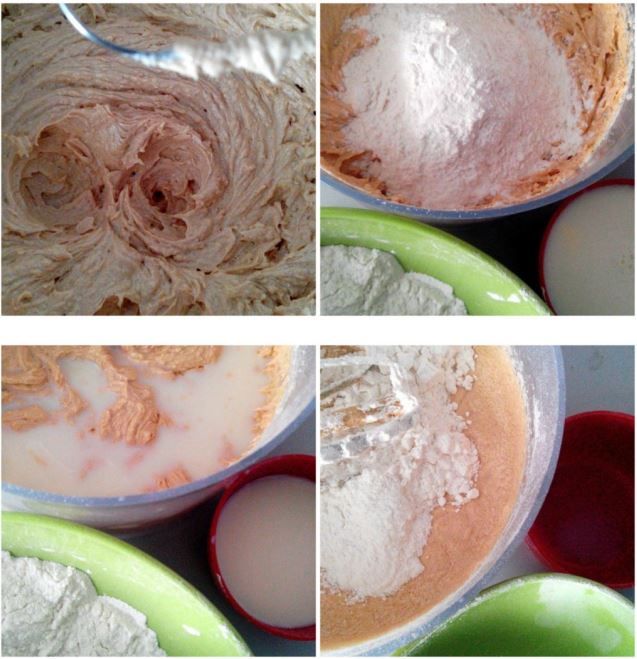
5. Add flour mixture and milk alternating both and beating just until incorporated after each addition. (Start with 1/3rd of flour mixture, followed by 1/2 of the milk mixture, then again 1/3rd of the flour mixture, remaining milk and then the final part of flour. You got to beat just until they get incorporated into the batter). You should NOT over beat at this stage, else you might end up having a tough and dense cake.
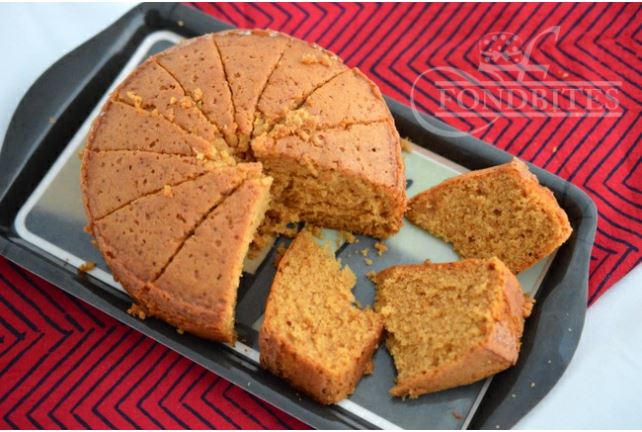
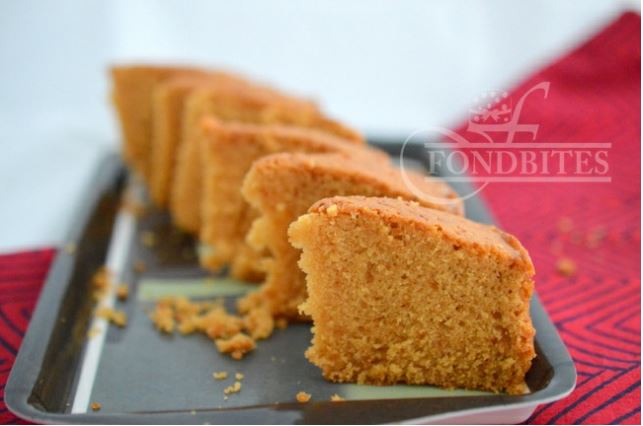
6. I decided to sensibly divide the batter between certain paper moulds and one aluminium pan to show you all the texture and for me to munch on the whole week. The remaining paper moulds to gift away to loved ones! You can choose to do so, or bake in one pan and divide between them. Pour the batter filling half of the pan and tap the pan on your counter to release air bubbles if any. Bake in pre-heated oven for 35 to 40 minutes or until the top of the cake is well risen, and a tooth pick inserted into the center comes out clean. Cool on wire rack.

They keep well at room temperature for 3 to 4 days, refrigerated for a week. They taste great after letting it rest for a day for the flavors to burst inside and deepen
This has been baked for Fondbites, Bake Along,a group of enthusiastic bakers, bake one recipe every week along with me. To join the group, send a join request in the facebook group and I will send you a confirmation message, after you confirm that you will bake every recipe with me each week, I will add you to the group.
Members – Once after you finish baking, post the link of your finished picture below using the linky tool.

